Home![]() Articles
Articles![]() Art of Chocolate Tempering: A Guide to Achieving a Perfect Gloss
Art of Chocolate Tempering: A Guide to Achieving a Perfect Gloss
If you want your homemade chocolates to look and taste like the ones sold in stores, you need to learn the technique of chocolate tempering.

If you want your homemade chocolates to look and taste like the ones sold in stores, you need to learn the technique of chocolate tempering.
When it comes to baking, the desire to create decadent chocolate desserts often comes with its fair share of challenges. It can be quite frustrating in the kitchen when trying to achieve that beautiful glossy finish on chocolates. The secret lies in becoming skilled at the art of chocolate tempering—a technique that turns chocolate into a velvety, glossy treat. Fret not, because this guide will help you become a master at chocolate tempering, so that every sweet treat you make will have that beautiful, shiny finish that everyone loves.
What is Chocolate Tempering?
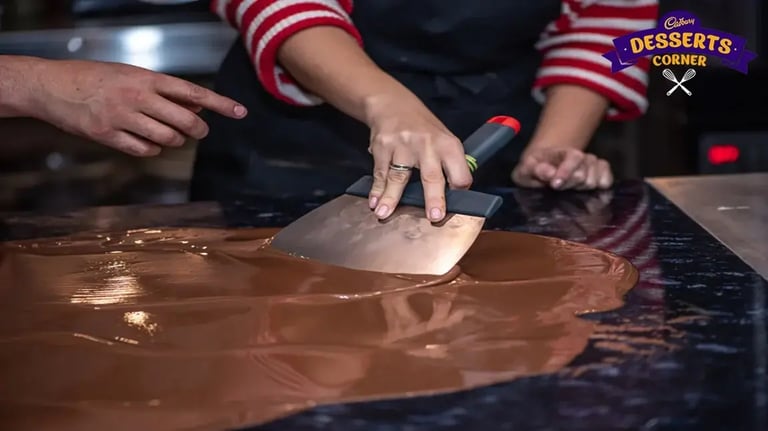
Tempering chocolate is a delicate process that requires melting the chocolate and then carefully cooling it to precise temperatures while gently stirring. During this process, the cocoa butter crystals in the chocolate are aligned, which gives it a smooth texture and shiny appearance. Tempering is really important because it helps prevent the formation of dull, gray streaks called cocoa butter bloom, making sure your chocolates look professional and appealing.
How to Temper?

Chop and Melt
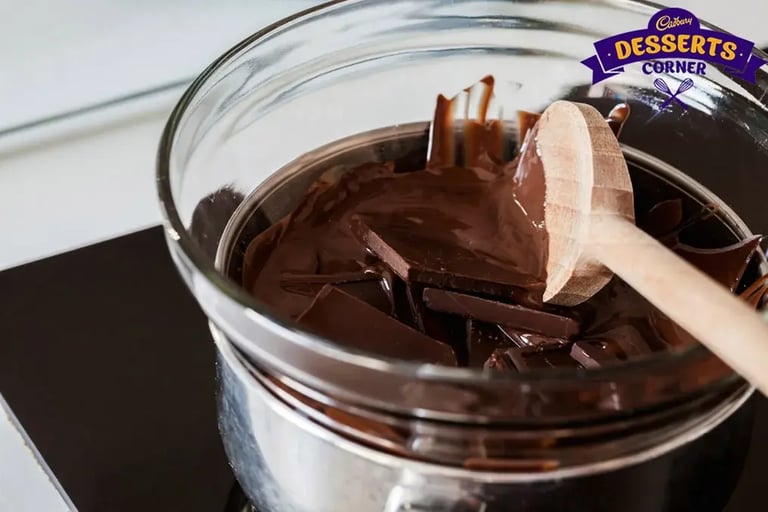
To begin, carefully cut your chocolate into small, evenly-sized pieces. To melt the chocolate, you can use either a double boiler or a microwave. Make sure not to heat it above 120°F (49°C) for dark chocolate or 110°F (43°C) for milk and white chocolate.
Cool and Seed
Take the melted chocolate off the heat and mix in the remaining one-third of the chopped chocolate. Gently stir the mixture until the remaining heat causes the chocolate to melt. This action cools down the temperature, which starts the process of crystallization.
Check Temperatures
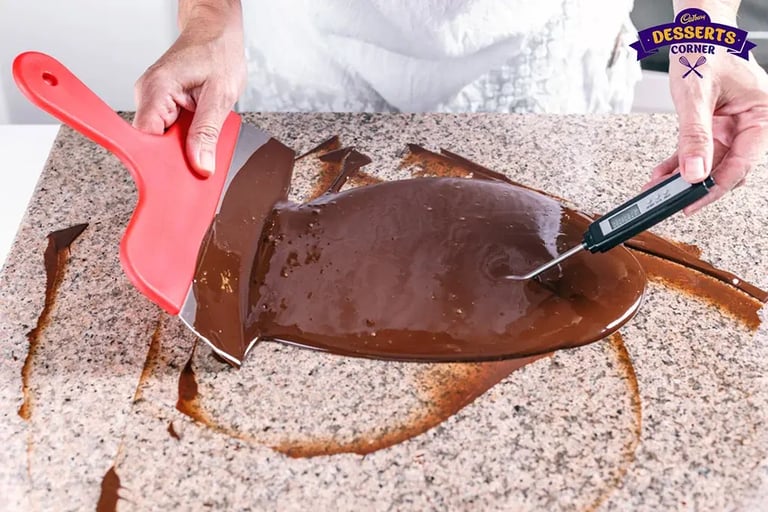
Use a thermometer to keep track of the temperature of the chocolate. To achieve the desired temperature for dark chocolate, you should cool it down to around 82°F (28°C). As for milk and white chocolate, the ideal temperature for cooling is approximately 80°F (27°C). If necessary, warm it up for a short time, but make sure not to go over 88°F (31°C) for dark chocolate or 86°F (30°C) for milk and white chocolate.
Test the Temper
For the best tempering results, you can dip a spatula or knife into the chocolate and allow it to set. The ideal texture would be glossy, with a satisfying snap when bitten into, and a smooth melting sensation on the tongue.
Application
Once the chocolate has been tempered, it is ready to be used. Whether you're coating truffles, making chocolate molds, or dipping fruits, you can take pleasure in the flawless sheen you've created.
What to Keep in Mind?

Quality Matters
Start with a top-notch chocolate, ideally couverture chocolate that has a generous amount of cocoa butter. When you use high-quality chocolate, it helps create a smoother texture and gives a more noticeable shine.
Consistent Temperature
Keep the temperature at which you are operating at a constant throughout the operation. Variations in temperature can result in an uneven tempering, which in turn will have an effect on the chocolate's ultimate texture and look.
Seed Method
Consider making use of the seed method, in which you mix the melted chocolate with minuscule pieces of chocolate that has been pre-tempered. This contributes to the beginning and maintenance of the crystalline structure that is required for a glossy finish.
It is recommended to use high-quality bars of chocolate or couverture chocolate for the best results. The second option melts faster because it contains a higher amount of cocoa mass. It is usually sold in the form of large buttons. When working with bars of chocolate, it's best to finely chop them using a serrated knife. This will help ensure that the chocolate melts evenly.
To consistently achieve that desired glossy finish, it's important to understand the science behind tempering, keep in mind some essential tips, and follow a precise procedure. Go ahead and truly enjoy the process of making delicious chocolate treats, feeling confident in the fact that your cooking skills have reached a new level of excellence thanks to your mastery of tempering chocolate.


